Picture this: your child, beaming with pride, proudly shows off a newly earned scout badge on their uniform. That badge isn’t just a piece of fabric—it’s a tangible reminder of their hard work, dedication, and accomplishments. But what if that simple piece of fabric could be even more meaningful? What if it could tell a story not just of what they’ve achieved but of who they are?
Custom scout patches allow scouts and creative kids alike to express their unique personalities and commemorate their favorite moments in a way that’s deeply personal. Whether it’s a special camping trip, a skill they’ve mastered, or an experience they’ll never forget, a custom patch can serve as a cherished memento of that moment.
In this guide, we’ll dive into the exciting world of DIY custom patch projects. We’ll cover why custom patches are a great activity for kids, the skills they can learn along the way, and provide a detailed, step-by-step process for making your own custom patches. We’ll also give you plenty of creative ideas to inspire your child’s next project.
So let’s get started on this fun, crafty adventure!
Why Make Custom Patches?
Before we jump into the nitty-gritty of making custom patches, it’s worth taking a moment to explore why this activity is so valuable for kids—especially those involved in scouts. Custom patches are much more than decorative accessories. They allow children to express their creativity, celebrate their achievements, and capture meaningful experiences in a tangible, artistic way.
Encouraging Creative Expression
Custom patches give kids the freedom to design something that’s entirely their own. While traditional scout badges are great for marking specific achievements, they tend to follow pre-determined designs. Custom patches, on the other hand, are a blank canvas where kids can let their imagination run wild.
Does your child love drawing animals? They can design a patch with their favorite animal. Are they passionate about nature? Perhaps they’d like to create a patch with trees, mountains, or a beautiful sunset scene. The possibilities are endless, and each patch becomes a reflection of their unique personality and interests.
This kind of creative freedom is incredibly empowering for kids. It gives them a chance to take ownership of their work and create something that is truly special to them. Plus, the act of turning their ideas into a physical object—whether through sewing, drawing, or painting—teaches them valuable skills in translating abstract thoughts into concrete designs.
Commemorating Special Events
Scouting is full of memorable experiences: camping trips, hikes, service projects, and jamborees, just to name a few. But not every event comes with an official badge. That’s where custom patches come in.
A custom patch can commemorate any special event or achievement that your child wants to remember. Did their troop go on an epic hike through the woods? They could design a patch with a trail or a mountain to mark the occasion. Did they participate in a service project where they planted trees or cleaned up a park? A patch with a tree or recycling symbol would be a great way to capture that memory.
These patches become personal keepsakes, preserving memories of experiences that might otherwise fade over time. They also give kids a sense of accomplishment—after all, they didn’t just experience the event; they created something to remember it by.
Building Practical Skills
Creating custom patches isn’t just fun—it’s also a great way for kids to build important skills. Depending on the method they choose to create their patch, they’ll practice sewing, drawing, designing, and even problem-solving.
For kids who sew their patches, this project is a fantastic introduction to needlework. Learning how to thread a needle, make basic stitches, and work with fabric are valuable skills that they can carry with them throughout their lives. Plus, sewing requires patience, attention to detail, and the ability to focus on a task for an extended period—qualities that are beneficial in all areas of life.
Even if your child prefers to use fabric markers or paint instead of sewing, they’ll still be developing their fine motor skills and practicing creative problem-solving. After all, turning a blank piece of fabric into a beautiful patch involves a lot of planning and thought.
Fostering a Sense of Accomplishment
There’s something incredibly satisfying about completing a project from start to finish. For kids, seeing their ideas come to life in the form of a custom patch can boost their confidence and give them a sense of pride in their abilities. Every time they look at that patch, they’ll be reminded of the time and effort they put into creating it.
This feeling of accomplishment is especially important for scouts, who are constantly setting goals and working toward new achievements. Custom patches allow them to celebrate not only their formal accomplishments but also the smaller, personal milestones that might not be recognized with an official badge.
Materials Needed for Custom Patch Projects
Ready to get started on your own custom patch? The first step is gathering the right materials. The good news is that making custom patches is a relatively simple project, and most of the supplies can be found at your local craft store or even around your home.
Here’s what you’ll need:
- Felt or cotton fabric: This will serve as the base for your patch. Felt is a great choice for beginners because it’s sturdy and doesn’t fray, making it easier to work with. Cotton is another good option, though it may require finishing the edges to prevent fraying.
- Embroidery thread or fabric markers: Depending on the method you choose, these will be your main tools for creating the design. Embroidery thread adds texture and durability, while fabric markers are great for drawing detailed designs quickly.
- Needle and thread: If you plan to sew your patch by hand, you’ll need a basic sewing needle and some thread. If you’re using a sewing machine, make sure you have the appropriate needle for your fabric type.
- Fabric glue or iron-on adhesive: These can be used to attach small decorative elements (like sequins or felt cut-outs) to your patch. Iron-on adhesive can also be used to attach the patch to clothing or backpacks without sewing.
- Scissors: Sharp scissors are essential for cutting fabric and trimming threads. If you’re working with intricate designs, small embroidery scissors may be helpful for precision cutting.
- Heat-transfer vinyl: For an extra pop of color or a sparkly finish, heat-transfer vinyl can be used to add designs to the patch. This is a great option for kids who want to avoid sewing but still want to create a professional-looking patch.
- Tracing paper or templates: If your child is working on a complex design, tracing paper can help them transfer the design onto the fabric before starting.
Once you’ve gathered all your materials, you’re ready to move on to the fun part: creating the patch!
Step-by-Step Guide to Making Custom Patches
Creating your own custom patch is an exciting and rewarding process. Whether you’re sewing, drawing, or painting, this project can be adapted to fit your child’s skill level and preferences. Here’s a step-by-step guide to help you and your child make a unique patch from start to finish.
1. Design Your Patch
The first step in creating a custom patch is coming up with a design. Encourage your child to think about what they want the patch to represent. Is it a special memory from a camping trip? A favorite animal? An accomplishment they’re proud of?
Once they have an idea in mind, have them sketch out the design on paper. This will help them visualize the final patch and plan out the details before they start working with fabric.
For younger kids, simple designs work best. Geometric shapes, symbols, or simple animals are easier to recreate on fabric. Older kids may want to try more intricate designs, like detailed landscapes or character drawings.
2. Choose the Fabric and Cut the Patch Shape
Next, it’s time to cut out the fabric for the patch. Start by choosing the base fabric—felt or cotton—and then decide on the shape of the patch. Circles, squares, and shields are popular shapes, but you can get creative with stars, hearts, or any other shape your child likes.
Once you’ve decided on the shape, use a template or freehand draw the shape onto the fabric. Then, carefully cut it out using sharp scissors. Make sure the edges are smooth and even, as this will give the patch a more professional finish.
3. Transfer the Design
Now it’s time to transfer the design onto the fabric. If you’re using fabric markers, you can draw the design directly onto the fabric. If you’re planning to embroider the patch, use a light pencil or fabric chalk to sketch the design onto the fabric first.
For more complex designs, tracing paper can be a helpful tool. Have your child trace their design onto the paper, then place the paper over the fabric and lightly transfer the design by pressing or tracing over the lines.
4. Add Details
This is where the magic happens! It’s time to bring the patch to life by adding details.
If your child is using fabric markers, they can start coloring in their design, adding shading, and creating layers of color. Encourage them to take their time and experiment with different techniques to make the design pop.
For kids who are sewing their patch, now is the time to start stitching. Begin by outlining the design with a simple backstitch or running stitch. Then, fill in larger areas with satin stitches or more decorative embroidery stitches. If your child is new to sewing, starting with basic stitches will help them get comfortable with the process.
Adding small decorative elements—like sequins, buttons, or beads—can also add dimension and texture to the patch. These can be sewn or glued onto the patch, depending on your child’s preference.
5. Secure the Edges
To give the patch a finished, professional look, it’s important to secure the edges. If you’re working with felt, you may not need to do much, as felt doesn’t fray easily. However, for cotton or other fabrics, you’ll want to finish the edges to prevent them from unraveling.
One option is to fold the edges under and sew them in place with a simple stitch. Another option is to use a blanket stitch or a zigzag stitch around the edges to create a decorative finish while also securing the fabric.
If you prefer a no-sew option, fabric glue or fray check can help keep the edges from fraying without the need for stitching.
6. Attach the Patch
Once the patch is complete, it’s time to attach it to a uniform, backpack, or any other surface your child wants to decorate. There are a few different ways to do this:
- Sewing: The traditional method is to sew the patch onto the fabric. This ensures that it stays securely in place, even after multiple washes and wear. You can sew it by hand or use a sewing machine for a quicker finish.
- Iron-on adhesive: For a no-sew option, iron-on adhesive can be applied to the back of the patch. Simply follow the instructions on the adhesive packaging and press the patch onto the fabric using a hot iron.
- Pinning: If your child wants to move the patch from one item to another, consider attaching it with safety pins or Velcro. This allows for flexibility in where the patch is displayed.
Creative Patch Ideas for Kids
Now that you know how to make a custom patch, it’s time to get creative with the designs. Here are a few ideas to inspire your child’s next patch project:
- Nature-Themed Patches: Scouts who love the outdoors can design patches featuring animals, trees, mountains, or rivers. A patch with a pine tree, bear, or campfire is perfect for commemorating a camping trip or hike.
- Event Patches: Create a patch to remember a special scouting event, like a jamboree, a service project, or a troop meeting. A simple design with the event’s date or a symbol representing the activity can serve as a fun reminder of the day.
- Personal Achievement Patches: Did your child learn how to tie a new knot or start a campfire on their own? Design a patch to celebrate their personal accomplishments. This could include a knot symbol, a flame, or any other icon that represents their achievement.
- Seasonal Patches: Design patches to represent the four seasons. Think spring flowers, summer suns, autumn leaves, and winter snowflakes. These patches can be worn or displayed throughout the year.
- Troop or Team Patches: If your child’s scout group has a mascot, motto, or logo, they can create a patch featuring that design. It’s a fun way for the whole troop to feel united and connected.
- Hobby Patches: Does your child have a favorite hobby, like soccer, painting, or reading? They can design a patch featuring symbols of their interests, like a soccer ball, paintbrush, or book.
The possibilities are endless, and each patch becomes a personal work of art that your child can be proud of.
Displaying and Sharing Custom Patches
Once your child’s patch is complete, they’ll want to show it off. Here are a few creative ways to display and share custom patches:
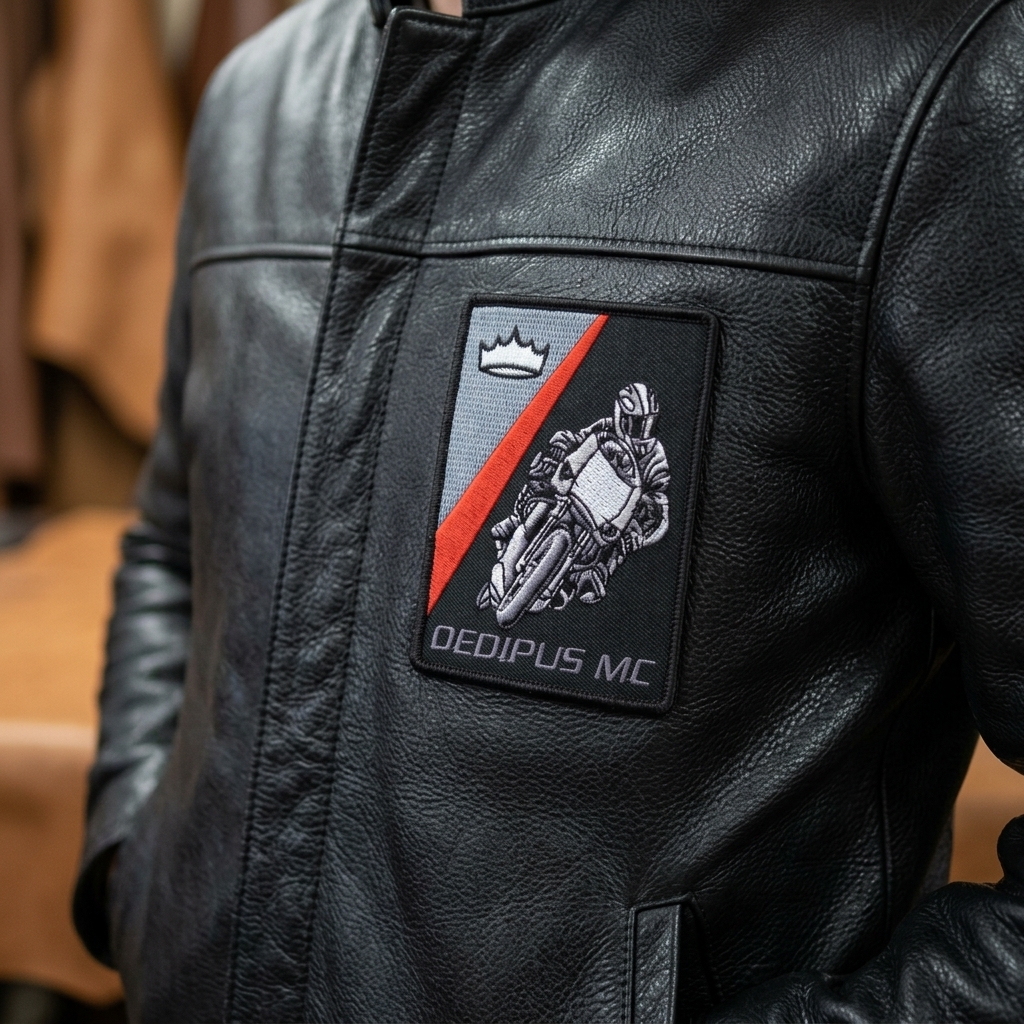
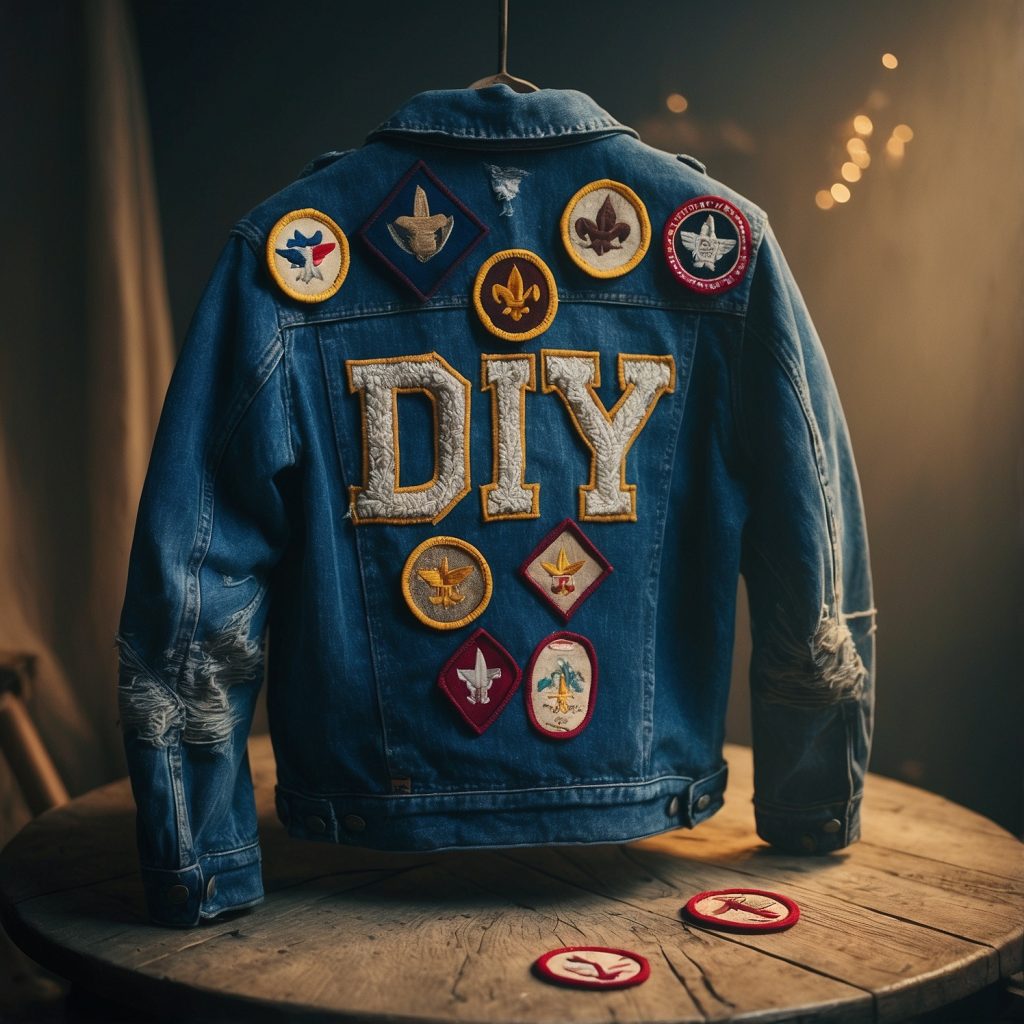
- On a Scout Uniform: The most obvious way to display a patch is by sewing it onto a scouting uniform. It can be worn alongside other earned badges, making the uniform a unique reflection of both official achievements and personal experiences.
- On Backpacks or Jackets: Patches can also be sewn or pinned onto backpacks, jackets, or hats. This adds a personal touch to your child’s gear and allows them to display their creativity wherever they go.
- Patch Blankets: If your child creates multiple patches over time, consider sewing them onto a patch blanket. This could become a special keepsake that grows with them as they add more patches to the collection.
- Trading with Friends: Some scouting groups participate in patch trading, where scouts exchange patches with one another. Custom patches are a hit in these exchanges because they’re one-of-a-kind. Your child can trade their unique designs with friends and collect patches from other scouts.
Displaying and sharing their patches is part of the fun, and it gives kids a chance to connect with others through their creative work.
Wrapping Up Your Custom Patch Project
Creating DIY custom patches is a fun and rewarding project for scouts and creative kids alike. Not only does it give them a chance to express themselves and capture special memories, but it also teaches valuable skills like sewing, patience, and problem-solving.
Whether your child is designing patches for their scouting uniform, a favorite jacket, or simply for fun, this project offers endless opportunities for creativity and growth. And the best part? Each patch is as unique as the child who makes it, becoming a personalized reminder of their accomplishments and experiences.
So, gather your materials, fire up those imaginations, and let your child embark on the journey of creating their own custom patches. They’ll be proud to wear their creations and even more excited to share the stories behind them.
If you are interested in purchasing high-quality custom patches, feel free to call us at 1-866-903-4903 or fill out one of our FREE quotes here.